Home Merch Gallery Archives Devices

by Rick Trembles © 2009
STEP ONE
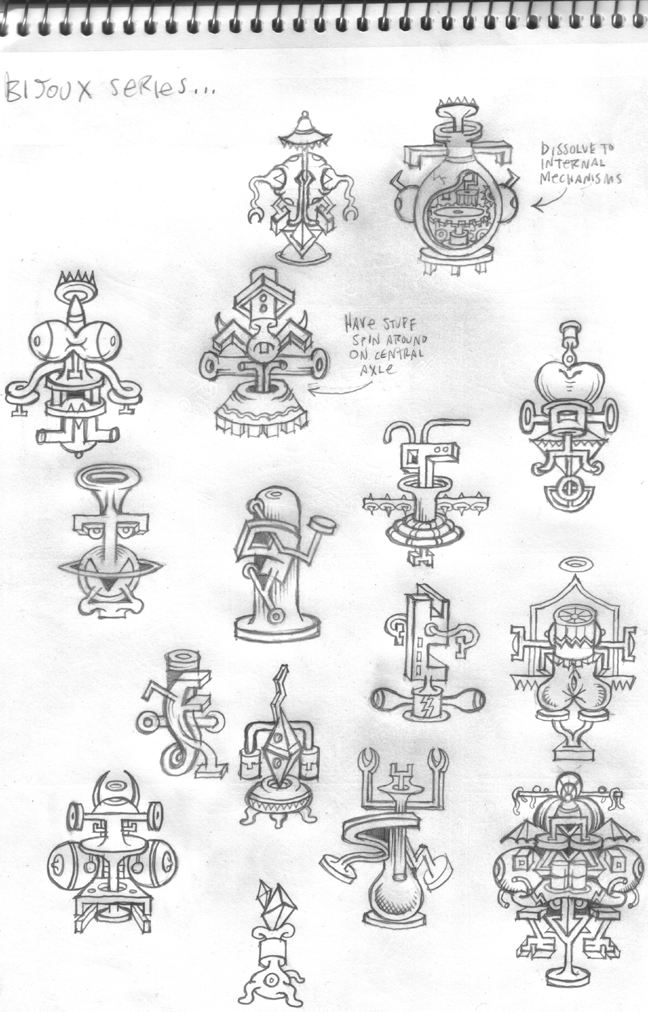
The first step in putting together my sculpture exhibition was to draw freeform structures I could try to imagine as 3-D sculptures. Here's a page from my sketchbook with the initial prototypes I drew in early 2008. I envisioned them as constructs I could eventually film as stop-motion animation puppets, so ideas as to what I might have them do in motion were noted down. Too many protrusions meant there would be too many "undercuts," which are areas very difficult to make molds of because such parts can break off easily, so the end results were much more streamlined.
STEP TWO
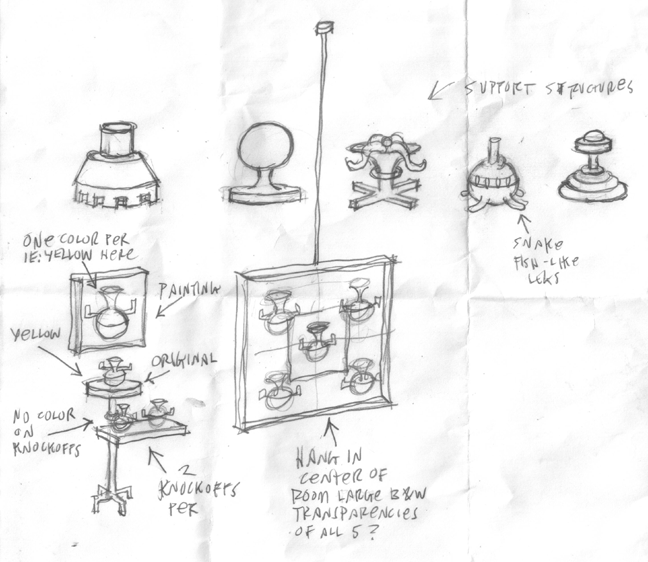
Once I pitched my show to the gallery I had in mind & they accepted my proposal for a solo exhibit I sketched out some ideas how the bases of the first five structures would be built. I needed for them to be able to stand up by themselves, so some of the more fanciful gravity-defying designs above had to be scrapped. I also envisioned in this drawing how each display per construct would look in the gallery itself. I had originally planned on hanging enlarged transparencies of each sculpture in the center of the room so that viewers could examine magnified details but decided to arrange sculpture duplicates over a round table on top of an original screen print of mine instead. I also decided to retain the flesh-like color of the original sculptures done in Super-Sculpey, both on the models & on their paintings, instead of giving them separate signature colors as indicated below.
STEP THREE
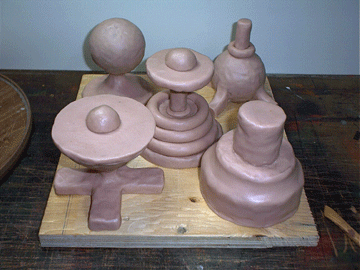
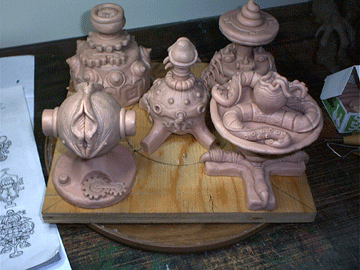
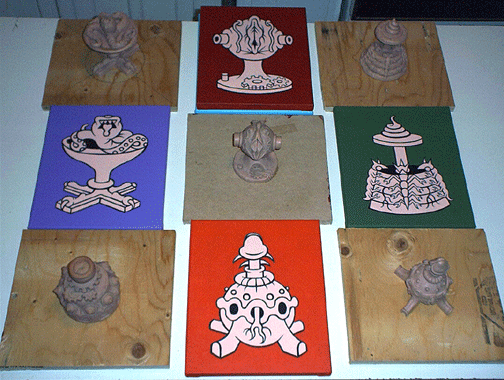
Super-Sculpey is a clay-like putty that you can bake rock hard after the sculpting process. I experimented with wire armatures for the understructures but couldn't get precise enough contours out of them so I went with balsa-wood understructures fastened by Krazy-Glue instead, which I could easily apply Super-Sculpey over. I was worried during baking that the balsa-wood might burn & the glue might melt apart but after some experimenting it turned out fine. Pictured below are the basic balsa-wood structures with the first coat of Super-Sculpey on them, followed by the sculptures after detailing, & then side-by-side with their paintings before baking.
STEP FOUR
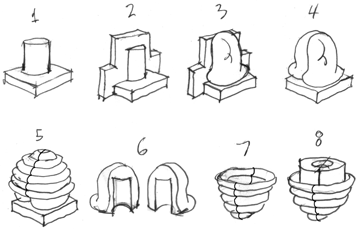
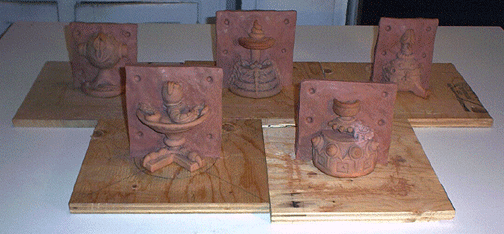
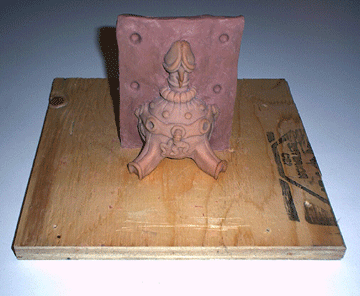
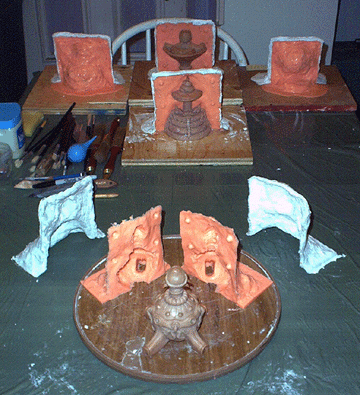
Next I plotted out in drawings how I'd be making molds of each sculpture with silicone rubber & plaster bandages. A clay dividing wall would be built to split each structure in half so I could end up with 2-part molds. Number 3 shows the silicone globbed over one half. Then the clay wall is removed for the second rubber half. Since silicone is so floppy it would need a plaster bandage "sleeve" to retain its shape once I turn everything upside down to pour the plaster in for duplicating during the last step. I more or less followed these directions except that the bandages (drawn here as spirals) were applied over the dried globs of silicone per half instead of in one step. Also missing here are the important registration marks that had to be sculpted into each clay wall so that each rubber half could lock together during duplicating. Pictured below this drawing are the models within their clay walls, registration holes included.
STEP FIVE
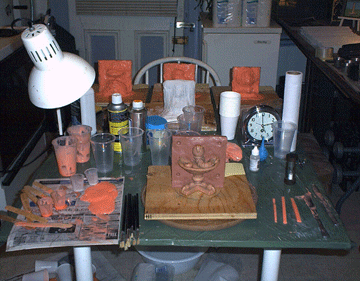
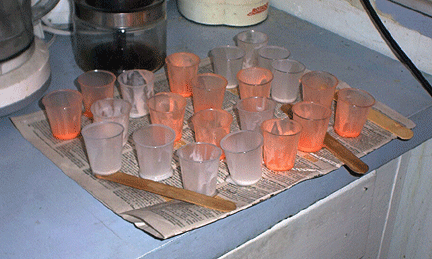
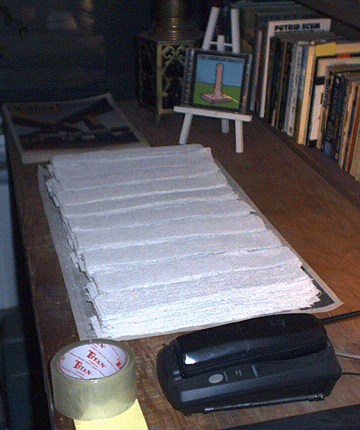
Here's my kitchen table covered in garbage bags ready to get messy. Uncured silicone rubber is incredibly greasy & hard to clean, so everything it would touch I would want to throw out in order to save time. I went through endless containers (the cheap plastic shot-glasses pictured below) to measure & mix the 2-part solution that would become hard rubber (the orange stuff in the photos). I had approximately 20 minutes to apply each coat (3 coats per each half of one model, 6 total per model). And I had to wait 60 minutes before applying each coat so that it would adhere properly. Wait too long & it won't stick to itself anymore, do it too soon & it unhinges the first coat. Then after each final coat I had to wait 6 hours for the full room-temperature curing. Did I forget to mention several coats of mold release had to be applied to every model before this process? This not only took plenty of time to dry, but gave off unpleasant toxic fumes so I had to leave my apartment for an hour after each mold release coat. Opening the windows for ventilation was out of the question in the middle of the winter deep-freeze we've been having. The last picture in this step shows all the plaster bandages ready to layer over the rubber.
STEP SIX
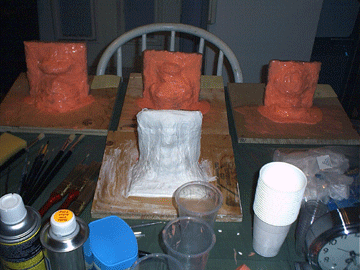
Here are the covered sculptures drying & then after de-molding. Once the molds were cleaned I would tape them shut extra watertight & turn them upside down so I could pour Ultracal plaster into the openings through the bottoms that would become their flat bases after drying. This plaster dries rock hard & takes about 3 hours before you can demold & repeat the process. Mixing the plaster is time consuming too, the powder has to be lightly & gently sifted into the water until it starts to absorb & thicken. Then you have only about 20 minutes to apply as much of a detailed first coat as you can before it dries too thick to pour in the rest.
STEP SEVEN
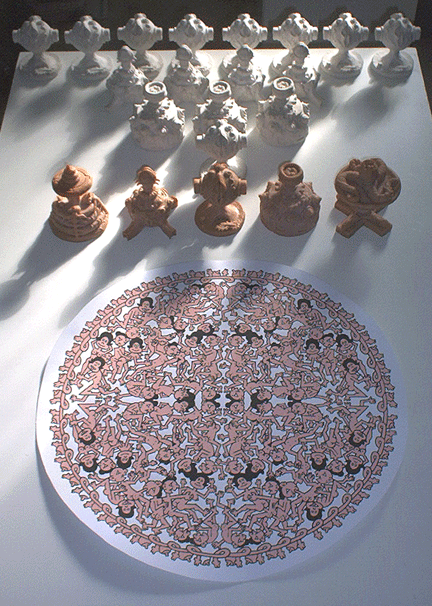
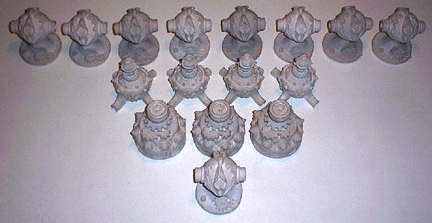
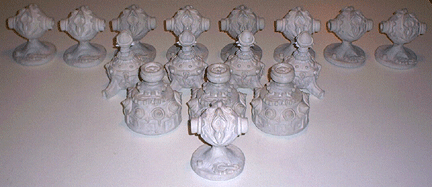
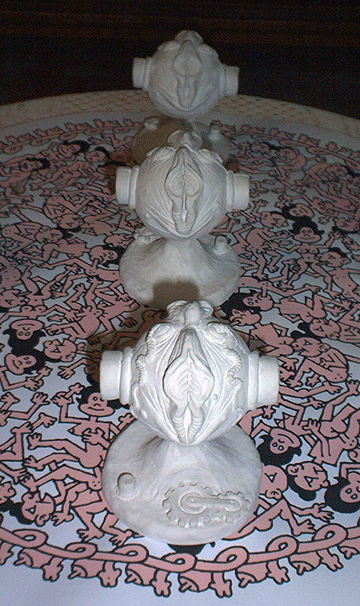
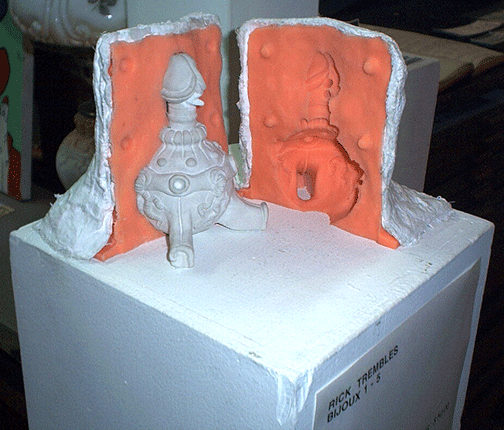
Here are the resulting duplicates in white Ultracal plaster behind the baked Super-Sculpey originals & the silkscreen print that I displayed a few of them on top of at the gallery. Limited edition signed & numbered copies of this print are also available at the gallery or from me through this website. The last picture in step 7 is a sample of the molding mechanism also on display at the gallery but not for sale.
STEP EIGHT
This is the step where YOU can participate by buying duplicates from me for a very reasonable price so that I can raise funds to begin making the one-minute animated films I want to accompany each of these sculptures with. These films will be abstract, nonrepresentational experiments in form & movement. They will start from nothingness & evolve via a combination of 2-D & 3-D stop-motion puppet animation from various disembodied metamorphosing parts into their final incarnations; the sculpture designs as you see them here. The only thing each film will have in common is that they will each end with a clear image of whatever particular sculpture is being represented. The music I'll be composing for these vignettes will be similarly experimental, blending organic sounds with instrumental to accompany every movement. Once finished, the films will be made available for free on the internet to function as advertisements for the sale of each of the sculptures' respective duplicates available in the catalog. I also plan on expanding the collection well beyond these 5 initial sculpture designs, so stay tuned for updates.
Please visit my catalog page for more detailed pictures of the final results & my price list HERE
Media coverage:
contact rick trembles for ordering info